

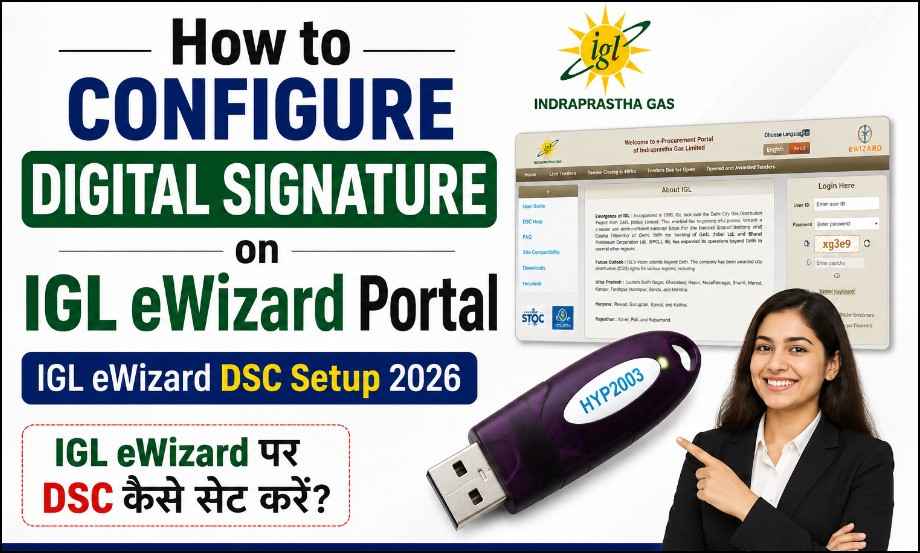
How to Configure Digital Signature on IGL eWizard Portal (Complete Step-by-Step Guide)
How to Configure Digital Signature on IGL eWizard Portal (Complete Step-by-Step Guide): If you’re trying to use your Digital Signature Certificate (DSC) on the IGL eWizard Portal but are unsure about the setup process, this guide will help you configure it correctly.
In this tutorial, we’ll walk you through the complete Digital Signature setup process, from installing the required software to successfully capturing and registering your DSC on the IGL eWizard portal.
Prerequisites
Before you begin, make sure you have the following:
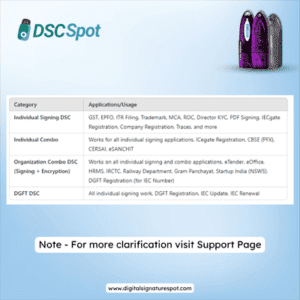
- A Class 3 Combo Digital Signature Certificate (Signing + Encryption)
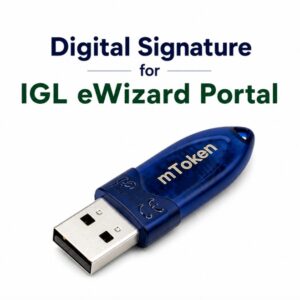
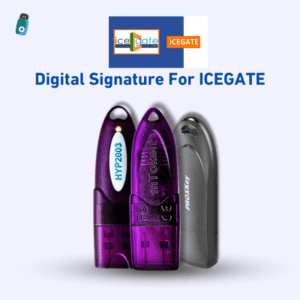
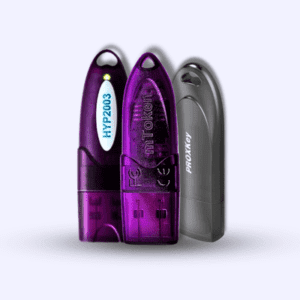
- A compatible USB Token
- The USB Token driver installed on your computer
Note: Installing the USB Token driver is a simple process, so it is not covered in this guide.
Watch the Complete Video Tutorial
Prefer watching the complete setup instead of reading?
We’ve created a detailed step-by-step video tutorial that walks you through the entire process of configuring a Digital Signature Certificate (DSC) on the IGL eWizard Portal. The video covers everything from installing OpenWebStart to capturing your digital certificate and successfully completing the setup.
In this video, you’ll learn:
- How to configure Digital Signature on the IGL eWizard Portal
- OpenWebStart installation
- USB Token driver setup
- JNLP file execution
- Capture Digital Certificate Detail
- Class 3 DSC (Signing + Encryption) configuration
- Common IGL eWizard DSC errors and solutions
🎥 Watch the complete video below:
How to Configure Digital Signature on IGL eWizard Portal | IGL eWizard DSC Setup 2026 | IGL eWizard पर DSC की सेटिंग कैसे करें?
💡 Need a Digital Signature for IGL eWizard?
If you don’t have a Class 3 Digital Signature Certificate (Signing + Encryption), we can help.
✔ Fast DSC Approval
✔ Individual & Organization DSC
✔ Compatible with IGL eWizard Portal
✔ PAN India Service
✔ Technical Setup Support
📞 Call / WhatsApp: 7579984381
Step 1: Log in to the IGL eWizard Portal
Log in to your IGL eWizard account using your credentials.
After logging in, click on Download OpenWebStart for 64-bit.
Once the download is complete, install the software on your computer. The installation may take a few moments, so please wait until it finishes.
Step 2: Capture Your Digital Certificate
After the installation is complete, you’ll see the Capture Digital Certificate Detail button.
Click on it and wait for a few seconds.
A JNLP file will be downloaded automatically. Open the downloaded file to continue.
During the process, you may need to wait for a few seconds while the application launches.
Step 3: Allow the Security Prompt
After a short wait, a security pop-up may appear on your screen.
Simply click Yes to continue.
Step 4: Select Your Digital Signature Certificate
If everything is configured correctly, your Digital Signature Certificate will appear in the certificate list.
Select your certificate and click Submit.
Congratulations! Your Digital Signature has now been successfully registered on the IGL eWizard portal.
Troubleshooting Tips
If your Digital Signature does not appear in the certificate list:
- Ensure your USB Token is properly connected.
- Verify that the USB Token driver is installed correctly.
- Make sure you are using a Class 3 Combo (Signing + Encryption) Digital Signature.
- Restart the browser or application if required.
- Reopen the downloaded JNLP file if the process does not start automatically.
Frequently Asked Questions
Which Digital Signature is required for IGL eWizard?
You need a Class 3 Combo Digital Signature Certificate (Signing + Encryption) to use the IGL eWizard portal.
Why is my Digital Signature not showing in the certificate list?
This usually happens due to an incorrect USB Token driver installation, an unsupported certificate, or the JNLP application not launching properly.
What is OpenWebStart?
OpenWebStart is a Java Web Start replacement that allows Java-based applications, such as the IGL eWizard certificate utility, to run on modern Windows systems.
Conclusion
Setting up a Digital Signature on the IGL eWizard portal is straightforward once the required software and USB Token are properly configured. By following the steps in this guide, you should be able to register your certificate without any issues.
If you face any problems during the setup process, feel free to leave a comment below or contact our technical support team.
Need Remote Technical Support?
We also provide remote assistance via AnyDesk and UltraViewer.
📞 Call or WhatsApp: 7579984381 (Nominal Charges Apply)
About the Author
With over 11 years of experience in the Digital Signature Certificate industry, Digital Signature Spot helps individuals, businesses, and professionals with DSC issuance, renewal, USB Token support, and portal-specific Digital Signature setup across India.

About author







Add comment