

How to Safely Export the Public Key (.CER) from Your DSC USB Token
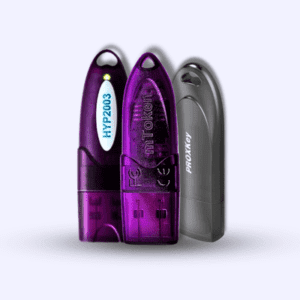
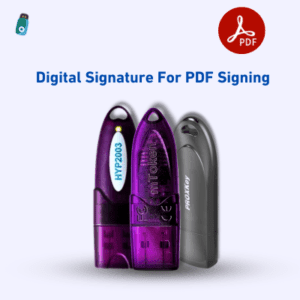
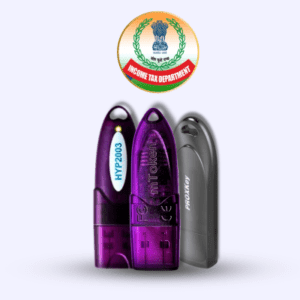
How to Safely Export the Public Key (.CER) from Your DSC USB Token: If you’ve ever dealt with e-filing on Indian government sites like MCA, GST, or Income Tax, you know your Digital Signature Certificate (DSC) is your best friend. It lives securely on your USB token (like HYP2003, mToken, or Watchdata)—and for good reason! Your signature (the private key) is locked inside, impossible to export, which keeps you safe.
But what about the public key?
Sometimes, you need to share a piece of your certificate—specifically the public key (.cer file). Maybe you need to register your DSC on an online portal or set up secure communication with a business partner.
Don’t worry, this part is perfectly safe! Since the public key can’t be used to sign documents, you can share it without risking your digital identity.
This simple, step-by-step guide will show you exactly how to get that .cer file using the Windows Certificate Manager.
Understanding the Key Players (The Quick Refresher)
Before we start the export, let’s quickly confirm what’s what:
- The Private Key: This is your actual signature. It’s locked inside the USB token and can never be exported. That’s excellent security!
- The Public Key (.cer): This is the shareable part of your certificate. It proves who you are and is what we are going to export today.
- The Format: The file you export will be an X.509 certificate, saved as a .cer file.
This whole process is completely in line with India’s Controller of Certifying Authorities (CCA) standards.
The Step-by-Step Guide: Using Windows Certificate Manager or USB Token (How to Safely Export the Public Key (.CER) from Your DSC USB Token)
This is the most reliable way to get your file, no matter which token brand you use.
Step 1: Plug It In and Log On
- Insert your DSC token (HYP2003, mToken, etc.) into your computer.
- The token manager should pop up. Enter your token PIN/password to log in and unlock the certificate.
Step 2: Open Windows Certificate Manager
- Press the Windows Key + R on your keyboard to open the ‘Run’ box.
- Type certmgr.msc and hit Enter. This opens the dedicated Windows Certificate Manager.
Step 3: Find Your DSC Certificate
- Look at the left panel. Navigate to Personal Certificates.
- You’ll see a list of certificates. Find the one issued to you (it should show your name, organization, and a valid date range).
- Pro-Tip: Double-click the certificate to open it and confirm it’s yours before moving on.
Step 4: Time to Export the Public Key
- Right-click on your DSC certificate.
- Go to All Tasks Export…
- The Certificate Export Wizard will open.
- Crucial Choice: On the first screen, choose the option: “No, do not export the private key.” (This confirms you’re only exporting the safe, public part).
- Format: Select the format you need. We recommend one of the .CER options.
- Tip: If you’re unsure or need the certificate text for a web form, select Base-64 encoded (.CER)—it’s the most flexible.
- Save: Click Browse… to pick a location and name your file (e.g., MyCompanyDSC.cer).
- Finish: Click Finish on the wizard, and voilà! You now have your shareable public key file.
Alternative: Export via Token Management Software
If you’re using HYP2003, mToken, or Watchdata’s software, you can often export directly:
- Open the token manager software.
- Navigate to the Certificates or View Certificate section.
- Select your DSC certificate and look for an Export Certificate button.
This will generate the same safe .cer file containing your public key.
Why You Needed That .CER File
Having this file lets you do important things like:
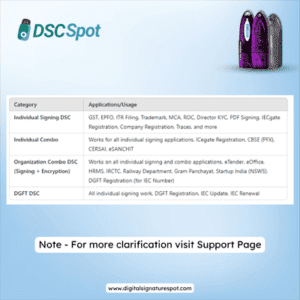
- Registration: Registering your DSC with portals like MCA, GST, DGFT, etc.
- Secure Exchange: Sending your public key to business partners to set up secure, encrypted communication.
- Authentication: Allowing a system to verify a document you’ve signed.
Remember: This is just your public key! It is impossible to sign documents with this file alone, so it’s safe to share.
❓ Frequently Asked Questions (FAQ)
Q: Is it safe to share the .cer file?
A: Yes, it is completely safe. The .cer file only contains your public key, which can only be used to verify documents you’ve signed, not to create a digital signature. Your private key (the actual signature) remains locked inside the USB token.
Q: Can I export the private key from my USB token?
A: No. By design, the private key is stored securely within the hardware (the token) and cannot be exported. This is a crucial security measure mandated by the CCA.
Q: What is the difference between DER and Base-64 encoded .CER files?
A: DER encoded is a binary format, meaning it’s a machine-readable file. Base-64 encoded is an ASCII text format, which is useful if a website or application requires you to copy and paste the certificate content directly into a text field. Both contain the same public key information.
Q: I don’t see my certificate in certmgr.msc under Personal. What should I do?
A: Ensure your USB token is correctly plugged in, you’ve entered the PIN/password, and the token management software (for HYP2003, mToken, etc.) is running and recognizing the certificate. Sometimes restarting the token manager helps.
🔒 A Final Security Check
We all love security, so here’s a quick reminder:
- Your Private Key: It remains safely locked in the token. It never leaves.
- The Token and PIN: Never share your physical USB Token or its PIN with anyone.
- The .CER File: Only share this file when a portal or partner specifically asks for your public key/certificate.
Exporting the .cer public key file is a key step in navigating India’s digital ecosystem—it ensures you can authenticate, register, and communicate securely without ever compromising the security of your actual digital signature.


Add comment