

How to Setup DSC on Bhulekh Portal (Step-by-Step Guide 2026)
How to Setup DSC on Bhulekh Portal: If you are working on the Bhulekh Bank Bandhak Portal and want to use a Digital Signature Certificate (DSC), proper installation and setup is essential.

In this guide, you’ll learn the complete practical process — based on the official manual — explained in a simple and user-friendly way.
📌 This guide is based on the official DSC setup manual
Overview – Why DSC Setup is Important?
On the Bhulekh portal, DSC is required for:
- Land record verification
- Bank mortgage (bandhak) entries
- Official digital approvals
👉 Without proper DSC setup:
- DSC will not be detected
- Login errors may occur
- Digital signing will fail
💻 System Requirements
Before starting, make sure you have:
- ✔ Updated browser (Google Chrome recommended)
- ✔ Stable internet connection
- ✔ DSC USB token
- ✔ Windows system (32-bit or 64-bit)
👉 As per the manual, the portal is now browser-independent, but Chrome works best.
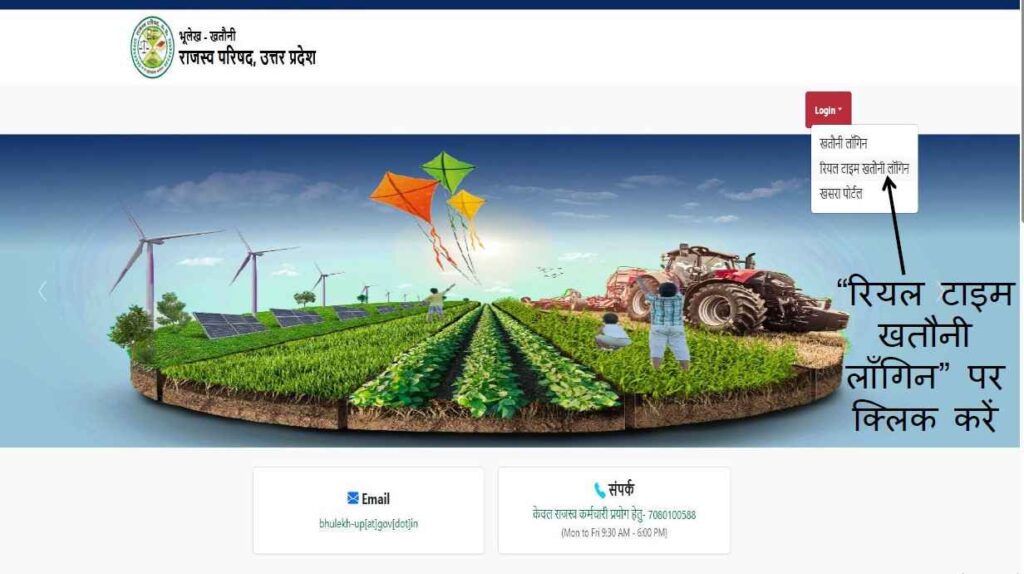
🌐 Step 1 – Open Bhulekh Portal
- Search “Bhulekh” on Google
- Open the official website
- Click on Login
- Select “Real Time Khatauni Login”
📌 Refer to the manual steps shown on pages 3–5
🔐 Step 2 – Login to Bank Portal
- Select your Bank
- Choose District & Branch
- Enter password and captcha
- Click Login
👉 After login, the dashboard will appear
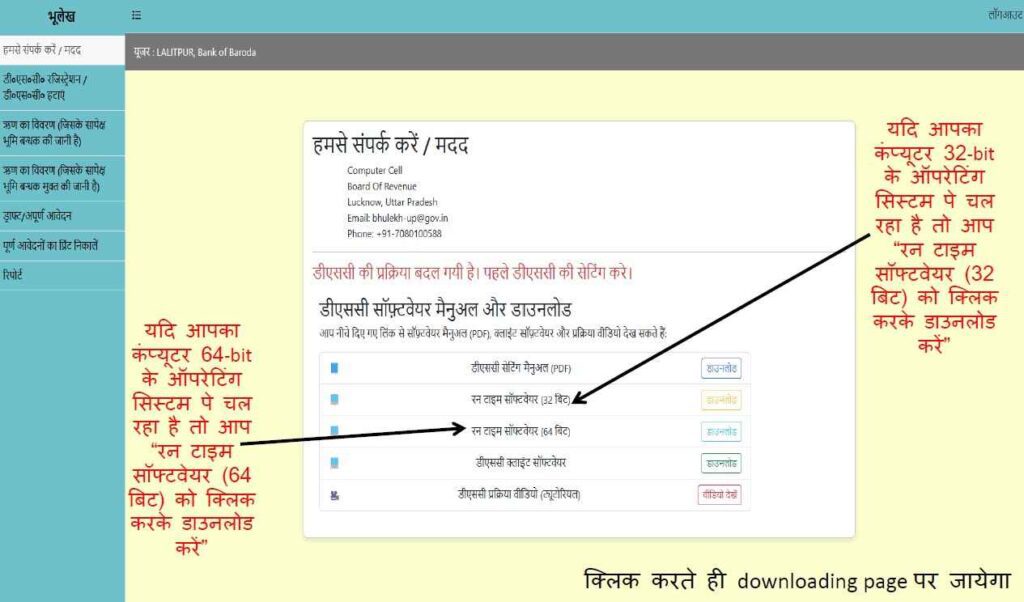
⚙️ Step 3 – Install Runtime Software (Most Important)
To make DSC work, you must install Runtime Software.
✔ Choose Correct Version:
- 32-bit system → Download 32-bit runtime
- 64-bit system → Download 64-bit runtime
📌 Installing the wrong version may cause DSC errors
📥 Installation Process:
- Click download
- Wait for file download
- Open setup file
- Click Install
- Close after installation completes
🧪 Step 4 – Verify Installation
Check if runtime is properly installed:
✔ Using Command Prompt:
- Search CMD in Windows
- Open Command Prompt
- Type:
dotnet --list-runtimes
✔ Expected Result:
- If installed → Version (8.0.x) will appear
- If not installed → Error will be shown
📌 Same method is mentioned in the official manual
👉 Tip: Restart your computer if version does not show.
🔌 Step 5 – Connect DSC Token
- Insert your DSC USB token
- Open “This PC”
- Open token drive
- Run setup file
- Install token drivers
📌 Token interface may vary depending on company
🧾 Step 6 – Install DSC Client Software
Now install DSC Client Software:
Process:
- Download client software
- Open “clientApp” file
- Install it
- Launch the application
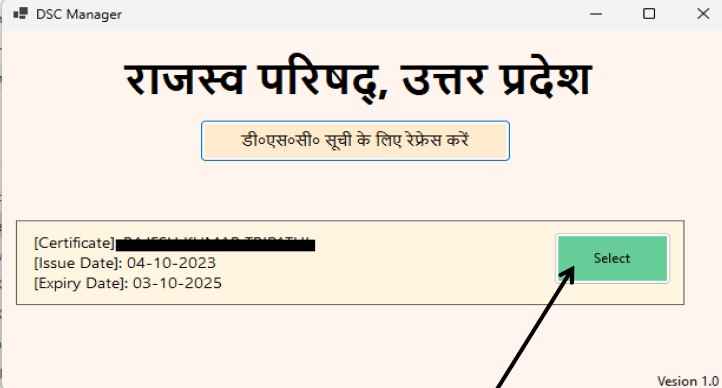
✅ Step 7 – Select & Register DSC
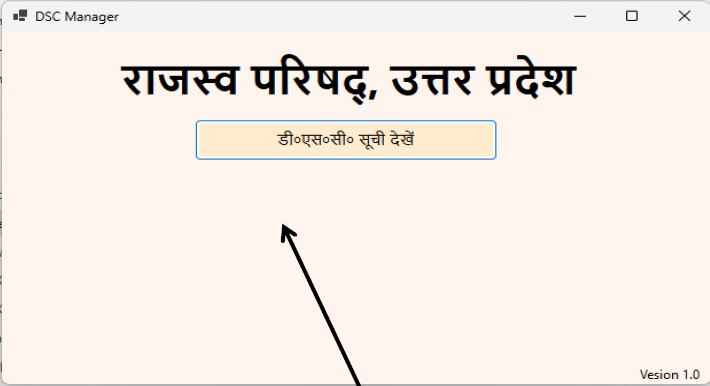
- Open client software
- List of available DSCs will appear
- Select your DSC
- Enter PIN
📌 Important:
👉 Keep client software open while using DSC
⚠️ Common Errors & Solutions
❌ DSC Not Detected
✔ Reconnect token
✔ Reinstall drivers
❌ Runtime Error
✔ Install correct version
✔ Verify via CMD
❌ DSC Option Not Showing
✔ Keep client software open
❌ Runtime Not Showing
✔ Restart your system
🎯 Pro Tips (Expert Advice)
- Always use Google Chrome
- Do not enter wrong DSC PIN multiple times
- Temporarily disable antivirus if needed
- Keep drivers updated
👨💼 About the Author
Samarth
Digital Signature Expert & Founder – Digital Signature Spot
- 10+ years experience in DSC services
- 1000+ successful DSC installations
- Expertise in: Tender DSC, GST, MCA & Government portals
📞 WhatsApp Support: 7579984381
❓ FAQ
1. Why is my DSC not detected on Bhulekh?
It usually happens due to missing runtime software or inactive client software.
2. Which browser is best for Bhulekh DSC?
Google Chrome is recommended.
3. How do I check if runtime is installed?
Use CMD command: dotnet --list-runtimes
4. Do I need to keep client software open?
Yes, it must remain open while using DSC.
5. What if runtime is not visible after installation?
Restart your computer and check again.
🔚 Conclusion
Setting up DSC on the Bhulekh portal may seem technical, but if you follow this step-by-step guide, the process becomes simple.
👉 Key Takeaways:
- Install correct runtime
- Setup DSC token properly
- Keep client software running


Add comment