

How to Re Upload Rejected Documents in ProDigiSign: Step-by-Step Guide
How to Re Upload Rejected Documents in ProDigiSign: If your documents have been rejected in ProDigiSign, don’t worry! Re-uploading them is a very simple process. This step-by-step guide will help you successfully re-upload your rejected documents and get them approved without hassle. Well read the blog for getting a quick solution and guidance for How to Re Upload Rejected Documents in ProDigiSign.
Why Are Documents Rejected in ProDigiSign?
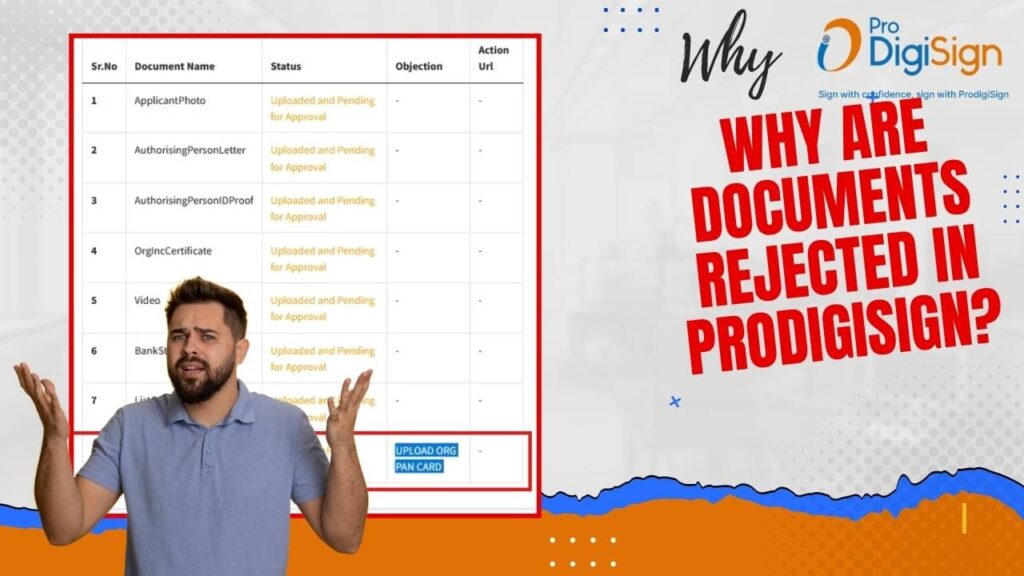
ProDigiSign is a trusted platform for digital signatures and document verification. However, documents can get rejected due to the following reasons:
- Incomplete or mismatched information.
- Low-quality or unclear document scans.
- Missing required documents.
- Incorrect file formats.
- Documents Not uploaded by the user
- Wrong Documents Uploaded.
Re-uploading the corrected documents ensures your application proceeds without further delays.
Requirements for Re-Uploading Rejected Documents
Before starting the re-uploading process, make sure you have the following:
- Applicant Login URL: https://apply.prodigisign.pro/EKyc/UserLogin
- Registered Email ID/Mobile Number/eKYC ID: Credentials to log in.
- eKYC PIN: A secure PIN provided during account creation.
- OTP (One-Time Password): Received on your registered mobile number.
Step-by-Step Process to Re-Upload Rejected Documents in ProDigiSign
Step 1: Visit the Applicant Login URL
Open your web browser and navigate to the Applicant Login URL of ProDigiSign.
Step 2: Enter Your Login Credentials
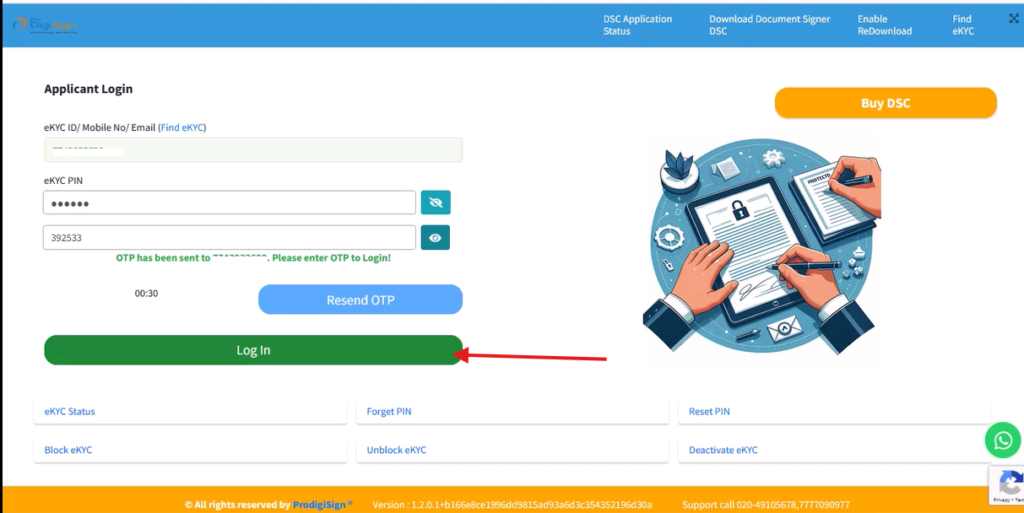
- Enter your Registered Mobile Number, Email ID, or eKYC ID.
- Input your eKYC PIN.
- Click on the Send OTP button to receive a One-Time Password on your registered mobile number.
Step 3: Log In to eKYC Account
- Enter the OTP you received.
- Click on the Login button to access Applicant’s ProDigiSign account.
Step 4: Click on the “DOC” Button
After logging in, locate the “DOC” button (highlighted in red) on your dashboard and click on it. see the photo below.

Step 5: Find the Rejected Documents
- Look for the section labelled “Rejected Documents” or marked as CheckerOne Rejected.
- Identify the documents that need to be re-uploaded.
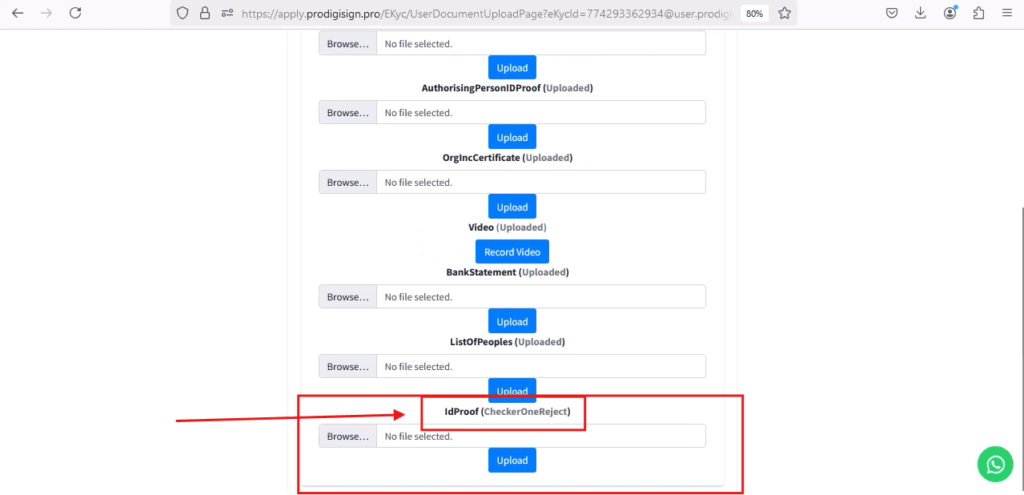
Step 6: Upload Corrected Documents
- Select the rejected document(s) and click on the upload option.
- Recommendation: Merge all required DSC documents into a single file before uploading to ensure a smooth process.
- Upload the corrected file(s) in the specified column.
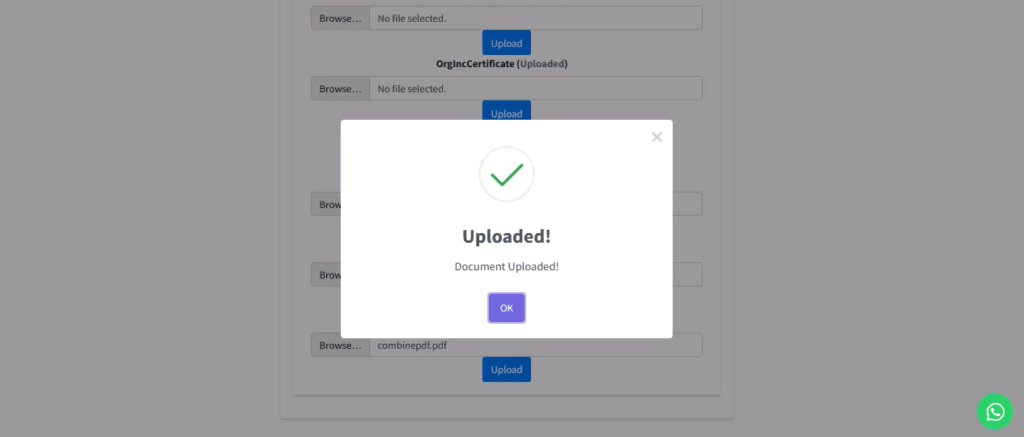
Step 7: Wait for Approval
Once you’ve uploaded the documents, wait for the approval process to complete. ProDigiSign’s team will review your updated documents and notify you of the outcome.
Pro Tips for Successful Document Re-Uploads
- Ensure Clarity: Scan documents in high resolution to avoid rejection due to illegibility.
- Use the Correct Format: Upload files in the format specified by ProDigiSign (e.g., PDF).
- Double-Check Information: Verify all details before uploading to avoid errors.
- Merge Documents: If multiple DSC documents are required, merge them into a single file for easier processing.
Common FAQs
Q1: How long does the approval process take?
A: The approval process typically takes a few minuts to 5-20 Minutes, depending on the volume of applications.
Q2: Can I edit documents after uploading them?
A: No, once submitted, you cannot edit the documents. Ensure all corrections are made before uploading.
Q3: What should I do if my documents are rejected again?
A: Check the reason for rejection mentioned in the portal, correct the issues, and re-upload the documents following the same steps.
Conclusion
Re-uploading rejected documents in ProDigiSign is a simple and efficient process. By following the steps outlined above and ensuring your documents meet the required standards, you can avoid further rejections and move forward with your application. ProDigiSign is designed to make the digital signature process seamless, and with this guide, you’re all set to tackle any issues with ease. For more tips and tutorials, stay connected with us. Happy signing!


Add comment